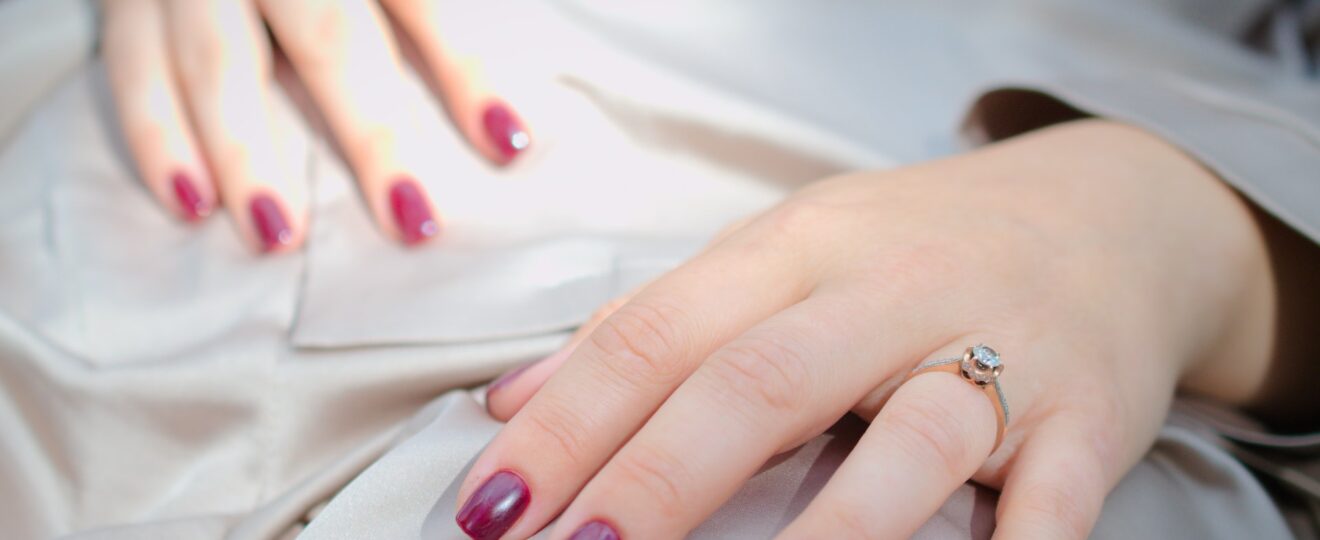
Shellac nails have become increasingly popular in recent years as an alternative to the more traditional methods of manicures and pedicures.
Shellac nails are a combination of regular polish and a gel-based formula applied to the nail and left to cure under an ultraviolet (UV) light.
They provide a longer-lasting, more durable manicure that lasts around two weeks and is more resistant to chipping and peeling compared to regular nail polish.
The application of shellac manicures is relatively easy and can be done at home or in a salon, although professional salons will usually provide the best results.
In this article, we will discuss everything you need to know about shellac nails, including what shellac nails are, the advantages and disadvantages of shellac nails, how to apply shellac nails, and how to care for them afterward.
What is Shellac Nails?
Or
What is a Shellac Manicure?
Shellac is a brand of nail care and polish system developed by Creative Nail Design (CND).
Shellac nail polish is a combined process of normal manicure and gel-based technology that provides a healthy and long-lasting shine to the nails.
A professional manicurist will apply the Shellac system and then cure it for around two weeks.
This innovative formula protects nails against chipping and peeling, making it ideal for frequent manicures and pedicures.
Advantages of Shellac Nails:
There are numerous advantages to using shellac nails, and here we discuss some of the most important ones:
Durability:
The biggest advantage offered by shellac nails is their durability.
The UV light applied during the curing process rapidly hardens the polish, allowing it to last up to two weeks without chipping or peeling.
This means that you won’t have to worry about constantly touching up your nails and be able to enjoy the same salon-perfect look for the duration of the treatment.
Safer than Gel Nails:
Shellac natural nails are considered to be less damaging to your natural nails than traditional gel nails.
As gel nails require the use of primer and numerous layers of polish before being cured, it can cause excessive dehydration and possible nail damage.
This is not the case with shellac nails, as the single layer of polish forms a protective barrier that preserves the natural health of your nails.
Easier and Quicker Application:
Shellac nails can be applied in half the time of traditional manicures and pedicures, with the entire process taking about 45 minutes.
This makes it the perfect choice for people who are looking for a quick and easy manicure or pedicure solution that doesn’t take too long to apply.
Disadvantages of Shellac Nails
Despite their many advantages, there are a few drawbacks to using natural shellac nails.
Here are some of the most common disadvantages of shellac nails:
More Expensive:
Natural nails shellac usually costs more than traditional manicures or gel nails due to their more complex application and usage of specialized equipment.
While they may offer a longer-lasting result, they don’t always prove to be more economical in the long run.
Removal Process Requires Professional Assistance:
Unlike regular nail polish, shellac nails natural need to be removed by a professional manicurist with special tools or solvents.
Attempting to remove shellac nails on your own can cause further damage to the nails.
Not Suitable for Damage Nails:
The process of applying nail shellac can damage weak or brittle nails.
It is recommended to avoid shellac nails if you have recently experienced any kind of trauma to your nails as it could further weaken them.
How to Apply shellac On Natural Nails?
The process of applying nail shellac is relatively easy and can be broken down into four main steps:
- Preparing Your Nails: Begin by filing and buffing your nails to the desired shape and size. Make sure to remove any excess cuticles or dirt from the nail beds before pushing back the cuticles. Make sure to wash your hands with soap and water to remove any oils that may interfere with the adhesion of the polish.
- Applying Base Coat and Color Coat: Next, apply a thin layer of the shellac base coat to each nail and immediately place your nails under the UV light to cure them. Once cured, apply a single thin layer of the shellac color and cure them under the UV light again. Repeat this step until you achieve the desired color and coverage.
- Applying Top Coat and Curing: Finally, apply a thin layer of top coat and cure it under the UV light. Make sure to cap the edges to help prevent chipping and peeling.
- Cleaning: Once the top coat is cured, use a lint-free cloth or cotton swab to gently remove any excess top coat. Then, apply a few drops of cuticle oil to the skin around the nails and lightly rub it in to help keep the area moisturized.
How to Care for Shellac Nails
After applying your shellac nails, you will need to take some steps to ensure that they last for their full two-week life. Here are some tips for proper shellac nail care:
- Avoid Contact with Water: When you have shellac nails, it is important to be careful when washing your hands or doing household chores to avoid excessive moisture. This will help to keep your nails from becoming brittle and weak or breaking prematurely.
- Use a Hand Care Routine: You should use a hand cream after washing your hands as this will help keep them nourished and hydrated. This will also help to protect your nails from drying out and becoming brittle.
- Reapply Cuticle Oil: Applying cuticle oil regularly will help to keep your nails nourished and hydrated. This will help to protect them from becoming brittle and breaking.
Conclusion
Shellac nails are an innovative and popular way to achieve long-lasting manicures and pedicures.
With their fast-drying formula and protective properties, they are perfect for busy people on the go, who need their nails to stay perfect without having to constantly touch them up.
Despite their advantages, however, shellac nails require proper preparation, application, care and removal for them to be effective and safe.
By following the steps outlined in this article, you can ensure that you get the best results from shellac nails and enjoy their benefits for the full two weeks.