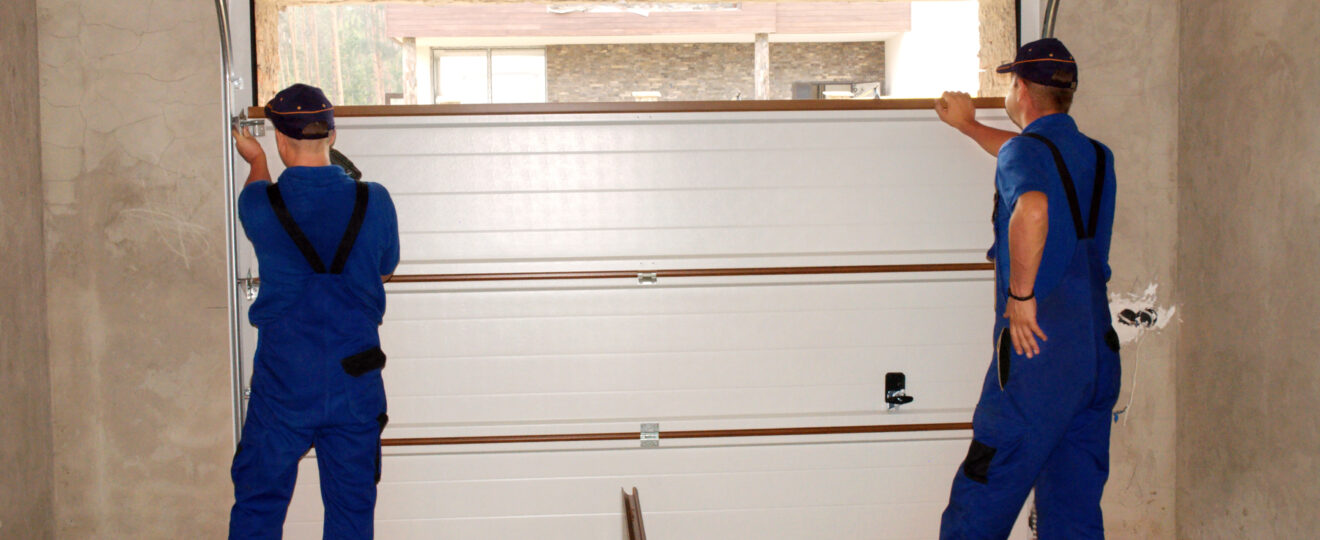
An insulated garage door provides comfort and safety. It also boosts your heating and cooling systems’ energy efficiency. Managing heat flow helps keep your winter nights warm and summer days cool.
Insulated garage doors, also often called high-end doors, can cost anywhere from USD$ 1,500 to USD$ 10,000, based on estimates done by Home Advisor. Fortunately, as a homeowner and do-it-yourself enthusiast, you have a few cheaper options. These include a spray foam insulation kit, a foam board, or reflective paneling, which will only set you back a few hundred dollars. You may also contact garage doors Charlotte professionals for a quote.
If you want to do it yourself, though, here are the steps to follow in insulating your garage door:
Step #1: Gather The Materials And Tools
Foam board and reflective panels are often used for lighter insulation. Polystyrene or Styrofoam may also be used, as well as fiberglass. When choosing a material, go for one that has a high R-value, especially if you experience extreme temperature swings. This measures a material’s resistance to heat flow, with higher ratings translating to better insulating capacities.
Get the following items ready before rolling up your sleeves:
- Tools: Knife, marker, nails, straightedge, tape measure, hammer, pliers, screwdrivers
- Safety gear: gloves, dust mask, goggles
- Materials: Insulation kit, garage doorstop weather stripping, door bottom seal, nails, lubricant
What you choose to insulate your garage door will depend on your preferences and needs. However, you may want to invest a little more in a well-insulated garage so that you can use it for other purposes. Read these tips if you want to learn more about a multifunctional garage.
Step #2: Prepare Your Garage Door
Before installing the foam or panels:
- Turn off any electrical appliance to ensure safety.
- Proceed by removing your garage door’s bottom weather seal.
- Raise the door and use a screwdriver to remove the rail seal.
Check whether your existing weatherstripping seals need to be replaced too. If it’s damaged, pull it out using a hammer. Install the fasteners beforehand.
Step #3: Installation Proper
Installing an insulation layer may not be as challenging as replacing your garage door, but it requires steady hands and precision.
Thus, after getting the site ready, perform the following steps:
Installing foam boards
If you opt for foam boards, take a look at the R-value and ask your local hardware store whether they can cut it in advance for ease of installation.
- Cut the board: Most foam boards come in 4 feet by 8 feet, so you may have to cut it yourself. Place the board on a flat and hard surface. Use a handsaw to cut the planks to size.
- Place foam planks on the garage door: Install the boards onto each of your garage door’s panels. Make sure the pieces fit the door snugly.
- Continue until all of the door panels are covered.
Installing fiberglass
- Install the retainer pins: Find and mark the spot that’s one foot from the edge of the panel and at the center of the rails. Peel the adhesives on the back portion and press the retainer pin base onto the board.
- Mark and resize the batting: Using a utility knife, cut the batting according to the size of your garage door. Press the material straightedge and ensure the insulator isn’t misshapen before cutting it to size.
- Batting installation: If you’ve chosen a fiberglass insulation kit, you need to put batting in place. Make sure that the insulation material is at the center of the panel. Push firmly on the door until the retaining pin punctures the board. Place the retaining cap over the pin to keep it in place.
- Do it until your garage door is entirely insulated.
New technologies are emerging in making the best insulators. But, for now, these materials are included in the list of the top choices among homeowners.
Step# 4: Doorstop Weatherstripping And Bottom Seal Replacement
It’s vital to re-seal and replace the sections of your door where heat and air may seep in, particularly the bottom seal and doorstop.
Doorstop weatherstripping: Measure and cut the weatherstripping material and wood flange to size. Tack the nails but don’t drive them entirely in yet. Test the door by shaking it to mimic movements during strong winds. Adjust accordingly before using a hammer to drive the nail fully in place.
Bottom seal replacement: With the damaged door bottom seal already removed in step#2, spray some lubricant on the bottom section and insert the seal. Cut excess material with a knife, and use pliers to crimp it to maintain the seal.
In Conclusion
After completing the steps above, don’t forget to test your newly-insulated garage door by lifting it repeatedly. An additional insulation layer will add weight to the door, so you might find your door less responsive. If you notice any problems, it’s best to contact professionals to prevent your door from being damaged down the line.


