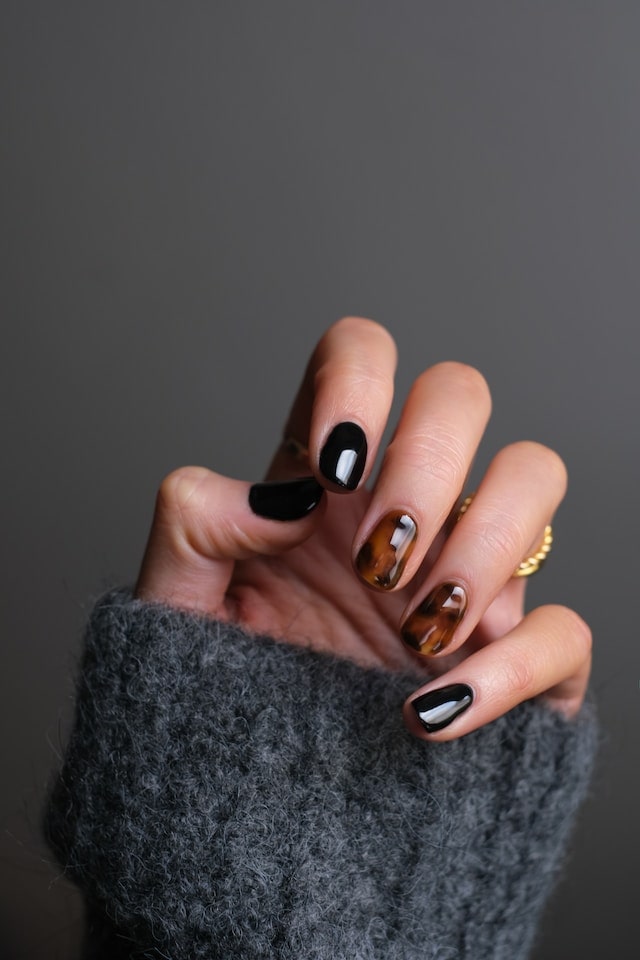
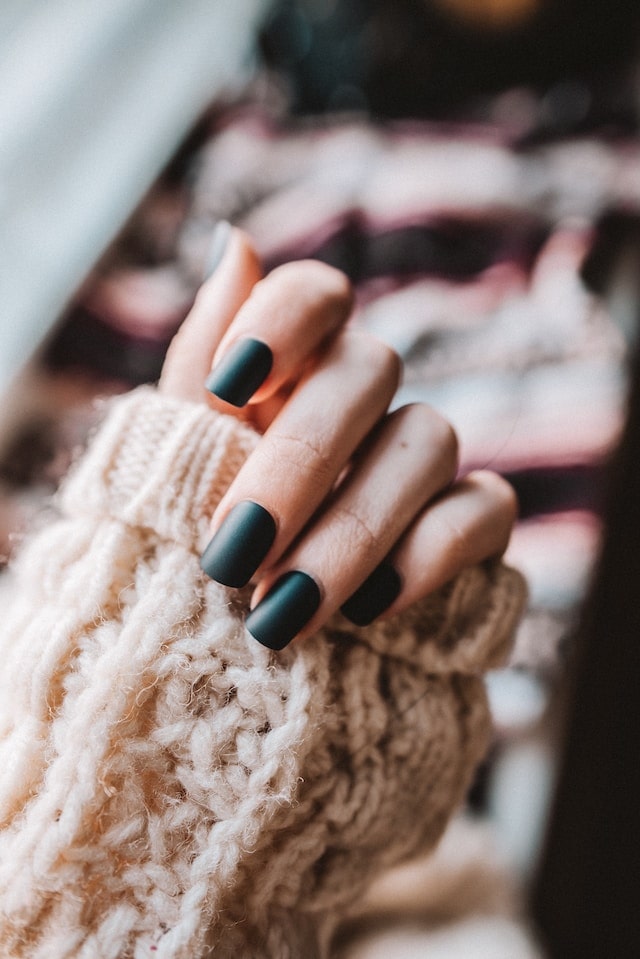
Welcome to our comprehensive guide on black nail care tips to achieve and maintain a flawless and chic look.
Black nails exude elegance and mystery, but they can be a bit tricky to maintain due to their intense color.
Whether you’re a seasoned black nail enthusiast or just starting to experiment with this bold style, we’ve got you covered with essential care tips, troubleshooting advice, and styling ideas.
Let’s dive in and unlock the secrets to rocking stunning black nails!
1. Prepping Your Nails
Before applying black nail polish, it’s crucial to prep your nails properly.

Follow these steps to ensure a smooth and long-lasting application:
- Clean Your Nails: Remove any old polish and debris from your nails using an acetone-free nail polish remover. This helps create a clean canvas for your black nails.
- Trim and Shape: Trim your nails to your desired length and shape them using a nail file. The most popular shapes for black nails are square, almond, and coffin, but feel free to choose the shape that suits your style.
- Buff the Surface: Gently buff the surface of your nails to create a smooth texture, which allows the polish to adhere better.
2. Using a Base Coat
A base coat is essential for black nails as it helps prevent staining and extends the life of your manicure.
Here’s why using a base coat is a game-changer:
- Stain Prevention: Dark-colored nail polishes, especially black, have a higher chance of staining your nails. A clear base coat creates a barrier, minimizing the risk of yellowing and discoloration.
- Enhanced Adhesion: A base coat provides a grip for the nail polish, helping it adhere better to your nails and reducing the chances of chipping.
- Smooth Surface: Certain base coats can also fill in ridges and imperfections, ensuring a smoother application of the black polish.
3. Mastering the Art of Application
Achieving a flawless black manicure requires a steady hand and some patience.
Follow these steps for a perfect application:
- Thin Coats: Apply thin coats of black nail polish rather than thick layers. This prevents streaks, bubbles, and a clumpy finish.
- Wait Between Coats: Allow each coat to dry completely before applying the next one. Patience is key to avoiding smudges and mishaps.
- The Three-Stroke Rule: For each nail, use three strokes of the brush to apply the polish – one in the center and one on each side. This technique ensures an even distribution of color.
- Seal the Edges: Brush the polish along the tips of your nails to seal the edges, reducing the risk of premature chipping.
4. Black Nail Troubleshooting
While black nails look incredible when done right, they can be unforgiving when mistakes happen.
Here’s how to troubleshoot common issues:
- Dealing with Streaks: If you notice streaks or unevenness, apply a thin third coat to even out the color.
- Fixing Smudges: Gently dab a clean nail brush in nail polish remover and carefully touch up any smudges or mistakes.
- Preventing Bubbles: To avoid bubbles in your black polish, roll the nail polish bottle between your palms instead of shaking it before application.
5. Drying and Sealing Your Manicure
After patiently applying your black nail polish, it’s essential to let it dry properly to avoid any accidental damage. Here’s how:
- Dry Time: Give your nails ample time to dry. Black nail polish often takes a little longer to dry compared to lighter colors.
- Quick-Dry Top Coat: Use a quick-drying top coat to speed up the drying process and add shine to your manicure.
- Reapplying Top Coat: For longer-lasting black nails, reapply a fresh layer of top coat every two to three days to seal the color and protect it from chipping.
6. Longevity and Maintenance
To maintain your flawless black nails, follow these tips for longevity and overall nail health:
- Be Gentle: Be mindful of your nails and avoid using them as tools, as this can cause chipping and damage.
- Wear Gloves: When doing household chores or using cleaning products, wear gloves to protect your black manicure.
- Moisturize: Keep your cuticles and nails moisturized with cuticle oil or hand cream to prevent dryness and cracking.
7. Mindful Removal of Black Nail Polish
When it’s time to remove your black nail polish, take extra care to prevent staining and damage to your nails:
- Use Acetone-Free Remover: Opt for an acetone-free nail polish remover to avoid excessive drying of your nails.
- Soak and Patience: Place a cotton ball soaked in nail polish remover on each nail and let it sit for a few seconds before gently wiping off the polish. Avoid scrubbing or rubbing vigorously, as this can damage your nail surface.
- Gentle Removal for Glitter: If your black nail polish has glitter or textured elements, use the foil method for gentle removal. Soak cotton balls in nail polish remover, apply them to your nails, wrap each fingertip with aluminum foil, and let it sit for a few minutes before gently sliding off the polish.
8. Preventing Nail Discoloration
Black nail polish can cause temporary discoloration on your nails, but you can minimize it by taking a few precautionary measures:
- Use a Whitening Base Coat: Incorporate a whitening base coat into your routine to counteract potential staining and keep your natural nails looking healthy.
- Limit Dark Polish Frequency: To reduce the risk of long-term discoloration, consider alternating black nail polish with lighter colors or neutrals in between manicures.
9. Nail Health and Nourishment
To maintain the overall health of your nails, follow these nourishing practices
- Nail-Friendly Diet: Consume a balanced diet rich in vitamins and minerals, like biotin and zinc, to support strong and healthy nails.
- Nail Strengthening Treatments: Treat your nails to occasional strengthening treatments, such as keratin-infused products or nail masks, to improve their resilience.
- Nail Polish Breaks: Give your nails a breather occasionally by going polish-free for a few days, allowing them to rejuvenate.
10. Experimenting with Black Nail Art
Don’t hesitate to get creative with your black nails and explore various nail art ideas:

- Negative Space: Experiment with negative space designs, leaving portions of your nails unpainted or utilizing clear polish with black accents for a modern and artsy look.
- Accent Nails: Create an accent nail by adding a pop of color or intricate nail art to one or two nails, complementing the overall black manicure.
- Metallic Accents: Add metallic details like silver or gold foil, studs, or rhinestones to elevate the glamor and make your black nails stand out.
- Gradient Effect: Try a gradient effect by blending black with a dark gray or charcoal shade, creating a sophisticated transition of color on your nails.
Incorporate these additional points into your black nail care routine, and you’ll be sure to maintain a flawless and captivating look.
With proper care and a touch of creativity, your black nails will always be on-point and ready to make a statement! Happy nail care and styling!
Conclusion
With our comprehensive black nail care tips, you’re now equipped to rock stunning and flawless black nails.
Remember to prep your nails properly, use a base coat, master the art of application, troubleshoot any issues, and seal your manicure with care.
Follow these guidelines, and your black nails will be the epitome of elegance and sophistication.
So, go ahead, unleash your creativity, and showcase your unique style with confidence! Happy nail styling!


 Sharing my stylish adventures and wanderlust-filled journeys
  Join me for fashion inspiration, travel tips, and a glimpse into my fashionably nomadic life
 #FashionandTravelBlogger #StyleWanderer #WanderlustFashion


